


If you’re a beginner looking to enhance your understanding of drying and curing cannabis plants, particularly for culinary or medicinal purposes, you’ve come to the right place. This comprehensive guide on drying and curing for beginners will equip you with the foundational knowledge needed to preserve the flavor, potency, and aroma of your harvest. We’ll break down the process using the 5Ws and H (Who, What, When, Where, Why, and How) framework, addressing frequently asked questions along the way.
Who Should Learn About Drying and Curing?
Drying and curing are essential techniques for both amateur and experienced cultivators, gardeners, herbalists, chefs, and anyone interested in preserving herbs, cannabis, and other botanicals. Whether your interest lies in enhancing the shelf-life of culinary herbs or ensuring the potency of medicinal plants, these processes are crucial in enhancing the quality and longevity of your yields.
What is Drying and Curing?
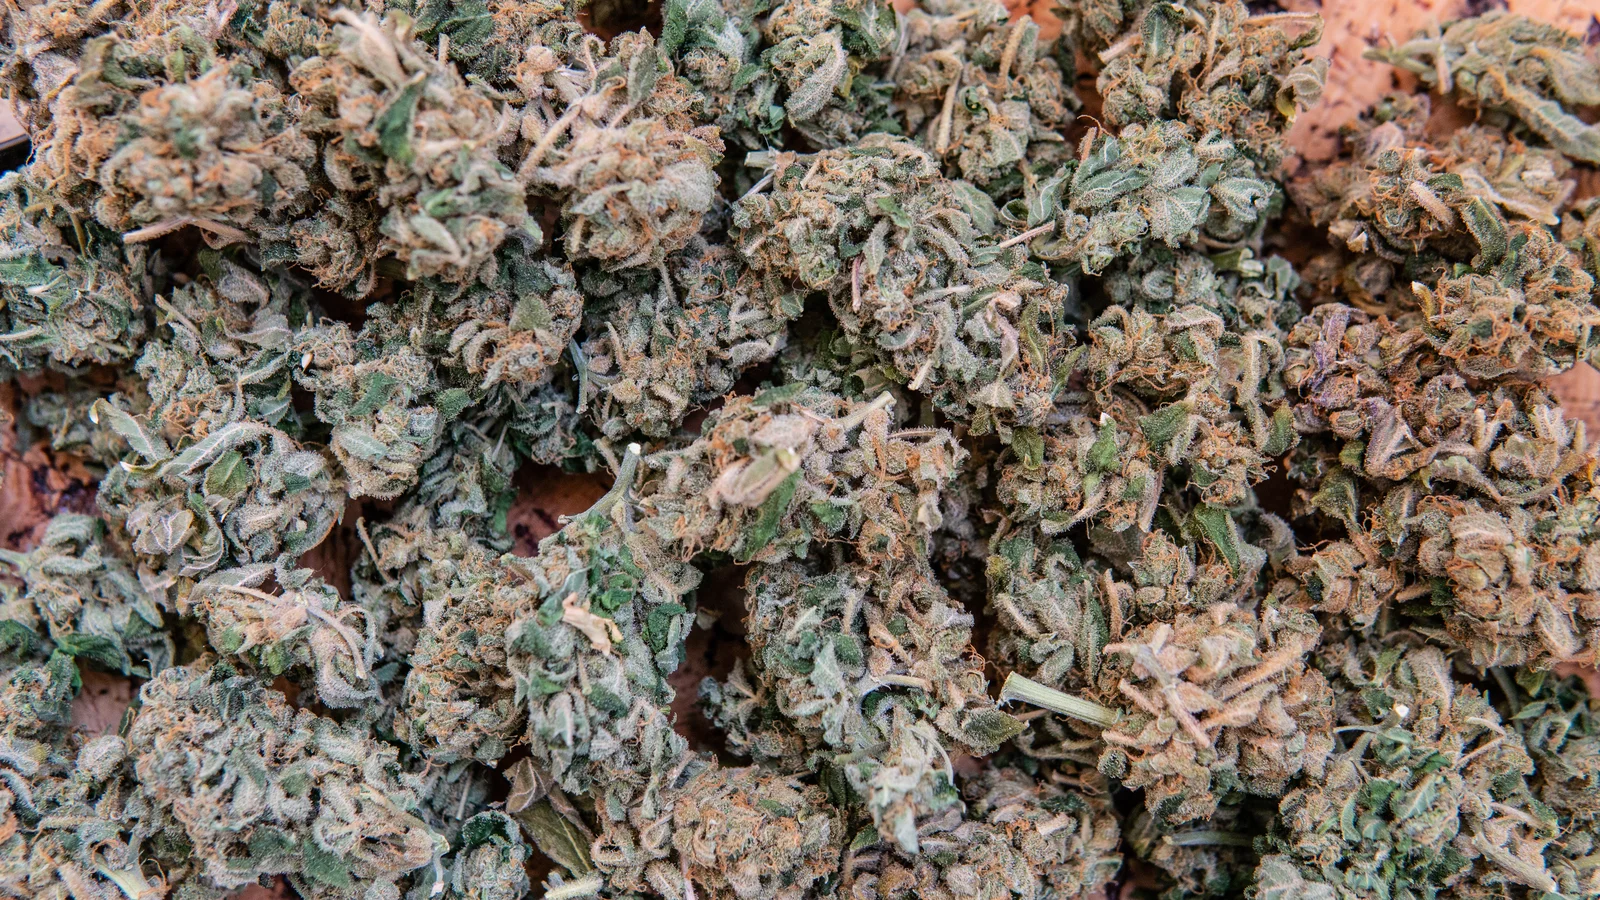
Drying involves removing moisture from the plant material to prevent mold, bacteria, and degradations. It is typically the first step in preserving harvested plants.
Curing, on the other hand, is a slower process that follows drying. It involves storing the dried material in controlled conditions to develop flavors, enhance potency, and improve aroma. This stage allows for the breakdown of sugars and chlorophyll, resulting in a smoother and more refined final product.
When to Dry and Cure?
Timing is critical in drying and curing for beginners. Here’s a general timeline:
- When to Begin Drying: Start drying your plants immediately after harvest to minimize the risk of mold.
- Duration of Drying: Typically, the drying process takes about 5 to 15 days, depending on the environmental conditions and plant type.
- When to Start Curing: Once your plant material is fully dried, the curing process usually begins.
Where to Dry and Cure?
The environment plays a pivotal role in the success of drying and curing. Here’s where to conduct these processes effectively:
- Drying Location: Choose a dark, well-ventilated space with low humidity levels and a temperature between 60-70°F (15-21°C). Darkness prevents degradation caused by light, while good airflow prevents mold formation.
- Curing Location: Utilize glass jars or airtight containers placed in a dark cupboard or shelf. Consistent temperature and humidity are crucial here, ideally between 60-70°F (15-21°C) and around 55% humidity.
Why is Drying and Curing Important?
The reasons to master drying and curing for beginners are manifold:
- Preservation: Proper drying prevents spoilage and extends shelf life.
- Flavor and Aroma Enhancement: Curing allows complex flavors and aromas to develop, creating a more enjoyable product.
- Potency Maximization: Particularly important in drying and curing cannabis, curing maximizes THC levels and ensures a stronger outcome.
- Quality Improvement: Well-dried and cured products are less harsh and much smoother.
How to Dry and Cure?
Here are step-by-step instructions tailored for beginners:
Drying:
- Harvest Carefully: Cut your plant material gently to avoid damaging the buds or leaves.
- Trim Leaves: Remove large fan leaves for better airflow and more efficient drying.
- Hang or Lay Flat: Hang branches with clothespins or lay buds flat on a screen, ensuring adequate space for air circulation.
- Monitor Conditions: Check daily for changes in moisture and mold. Adjust air circulation or humidity as needed.
Curing:
- Transfer to Containers: Once dried, move the plant material into glass jars, filling them about three-quarters full.
- Seal and Store: Seal the jars and place them in a dark spot at a consistent temperature.
- Burp the Jars: For the first week, open the jars daily to release moisture and replenish air.
- Monitor Continued Curing: After the first week, burp every few days. Taste and smell periodically to gauge progress.
Drying and Curing for Beginners: FAQ with an Expert Cultivator
What basic equipment is needed for the drying and curing process for beginners?
- Drying Rack or String: You will need a proper drying rack or strings to hang or lay out your plants. A well-ventilated area where you can spread the plants evenly is essential to avoid mold and ensure even drying.
- Dehydrator: Though optional, a dehydrator can be extremely useful. It allows for controlled temperatures and airflow, which are crucial for consistent results.
- Humidity and Temperature Control Tools: Invest in a hygrometer and a thermometer to ensure the environment stays between 60-70°F (15-21°C) with a relative humidity of 45-55% during drying.
- Storage Containers: Glass jars with airtight lids are ideal for the curing stage. They help maintain the freshness and prevent moisture from re-entering.
- Scissors or Pruners: To trim the plants after drying for the curing process.
What are some tips and tricks for mastering the art of drying and curing as a beginner?
Drying Tips
- Ensure Proper Airflow: Good air circulation is vital to prevent mold and ensure even drying. Use fans if necessary but avoid blowing air directly onto the plants.
- Monitor and Adjust: Keep an eye on temperature and humidity levels; adjust conditions by adding a dehumidifier or increasing ventilation if needed.
- Avoid Direct Sunlight: Always dry your plants in a dark or dimly lit area to prevent the degradation of flavors and active compounds from UV light.
Curing Tricks
Burp Your Jars: During the initial phase of curing, open your storage jars briefly every day (this is known as “burping”) to release moisture and excess gases.
Patience is Key: Don’t rush the process. Curing can take from a couple of weeks to several months. The longer, the better the results in terms of flavor and potency.
Check Regularly: Inspect your jars frequently for any signs of mold or excessive moisture. If condensation appears, the product should be dried further before continuing curing.
What are the essential methods of preservation for flavor, potency, and aroma for beginners in drying and curing?
- Air Drying: Most economical and simple, effective for woody herbs like thyme and rosemary. Hang them upside down in small bunches in a dark, ventilated room.
- Oven Drying: Suitable for fruits and delicate herbs. Use the lowest setting, and keep the oven door slightly open to allow moisture to escape.
- Dehydration: Perfect for maintaining the color and flavors of herbs. Follow the user manual of your dehydrator to set correct temperatures and drying times.
- Freezing: While not traditional drying, freezing can preserve flavor and aroma. Freeze herbs in oil or water in ice cube trays, then transfer to storage bags.
- Smoking: Adds a unique flavor dimension and can be used for certain herbs and chili peppers.
By adhering to these methods and practices, beginners can successfully enhance the flavor, potency, and aroma of their plants through drying and curing. Remember, practice and patience are key to mastering this art. Happy drying and curing!
Conclusion
Mastering drying and curing for beginners doesn’t have to be overwhelming. By understanding the critical aspects of who benefits from these techniques, what they entail, when and where to perform them, why they are important, and how to execute them correctly, you set the stage for success. Whether you’re focused on drying and curing weed or preserving culinary herbs, these fundamentals will ensure your plants retain their desired qualities for months or even years to come. With time and practice, you’ll become adept at preserving flavor, potency, and aroma, elevating the quality of your harvest.
Streamline Cannabis CultivationAbout GrowerIQ
GrowerIQ is changing the way producers use software - transforming a regulatory requirement into a robust platform to learn, analyze, and improve performance.
To find out more about GrowerIQ and how we can help, fill out the form to the right, start a chat, or contact us.